2 cups heavy cream
1/2 c sweet and condensed milk
2 cups sugar
2 cups light corn syrup
1/2 c butter
Combine cream and milk in a double boiler and scald. Combine sugar and syrup in a heavy sauce pan and bring to boil over medium heat, stirring constantly with wooden spoon. Let mixture boil with the lid on for 2 minutes. Remove lid and add butter (room temperature, not frozen) Gradually stir in cream mixture a tablespoon at a time to boiling syrup. Do not the the boiling cease. This process takes about 25 minutes. Cook to 230-235 degrees or until a firm ball stage is formed in cold water. Remove from heat and pour into a buttered cookie sheet pan 11"x16". Cool and enjoy!
****If you want to flavor your caramels, add the flavoring when the caramel has reached the 230 degrees just before pouring out onto the pan. You'll want to add at least 2 tsp. of flavoring extract or you can use essential oils, using about 20 drops. Ideas are peppermint, lemon, orange, cinnamon, coconut, whatever you think sounds good!
Showing posts with label Candy. Show all posts
Showing posts with label Candy. Show all posts
February 4, 2014


June 3, 2011
Cake Balls

1 batch of chocolate cake--baked as directed
1 container of frosting
1 tsp peppermint
Mint chocolate (I bought mine from Hobby Lobby) You need about 1 1/2 bags.
Bake the cake and let it cool completely on a rack. A very moist cake is ideal for this recipe. It's best to let it cool overnight at least. When it is completely cool, break the cake into a large bowl. Crumble it with forks or your fingers until it is in fine crumbs. All though I have made this when the cake is still warm, but it has too cool completely before you dip in the chocolate.
In a separate bowl, mix the frosting and the peppermint. Pour into the cake crumbs and mix with a spoon. Then continue mixing with your fingers, kneading and mixing until fully incorporated into the cake. Check to see if it will roll into a ball. It should: this makes a very malleable, easy-to-handle cake mixture. But if it needs a little extra moisture, you can add milk a spoonful at a time.
When the mix is completely done, cover with plastic wrap and refrigerate until firm. You can leave the mix refrigerated for several days at this point. I left mine in the fridge for about three days before making the balls. You could probably also freeze this.
Lay out a sheet of wax paper. Melt chocolate in a double boiler on low. When completely melted dip each ball into the chocolate using a fork to the extra chocolate drip off. Put on wax paper and let cool until chocolate is hard. Try not to eat them all. Serve to others. :)
For more details and other ideas--check out these great sites! The show fancy cake pops and great decoration ideas. The Kitchn or Bakerella
December 17, 2010
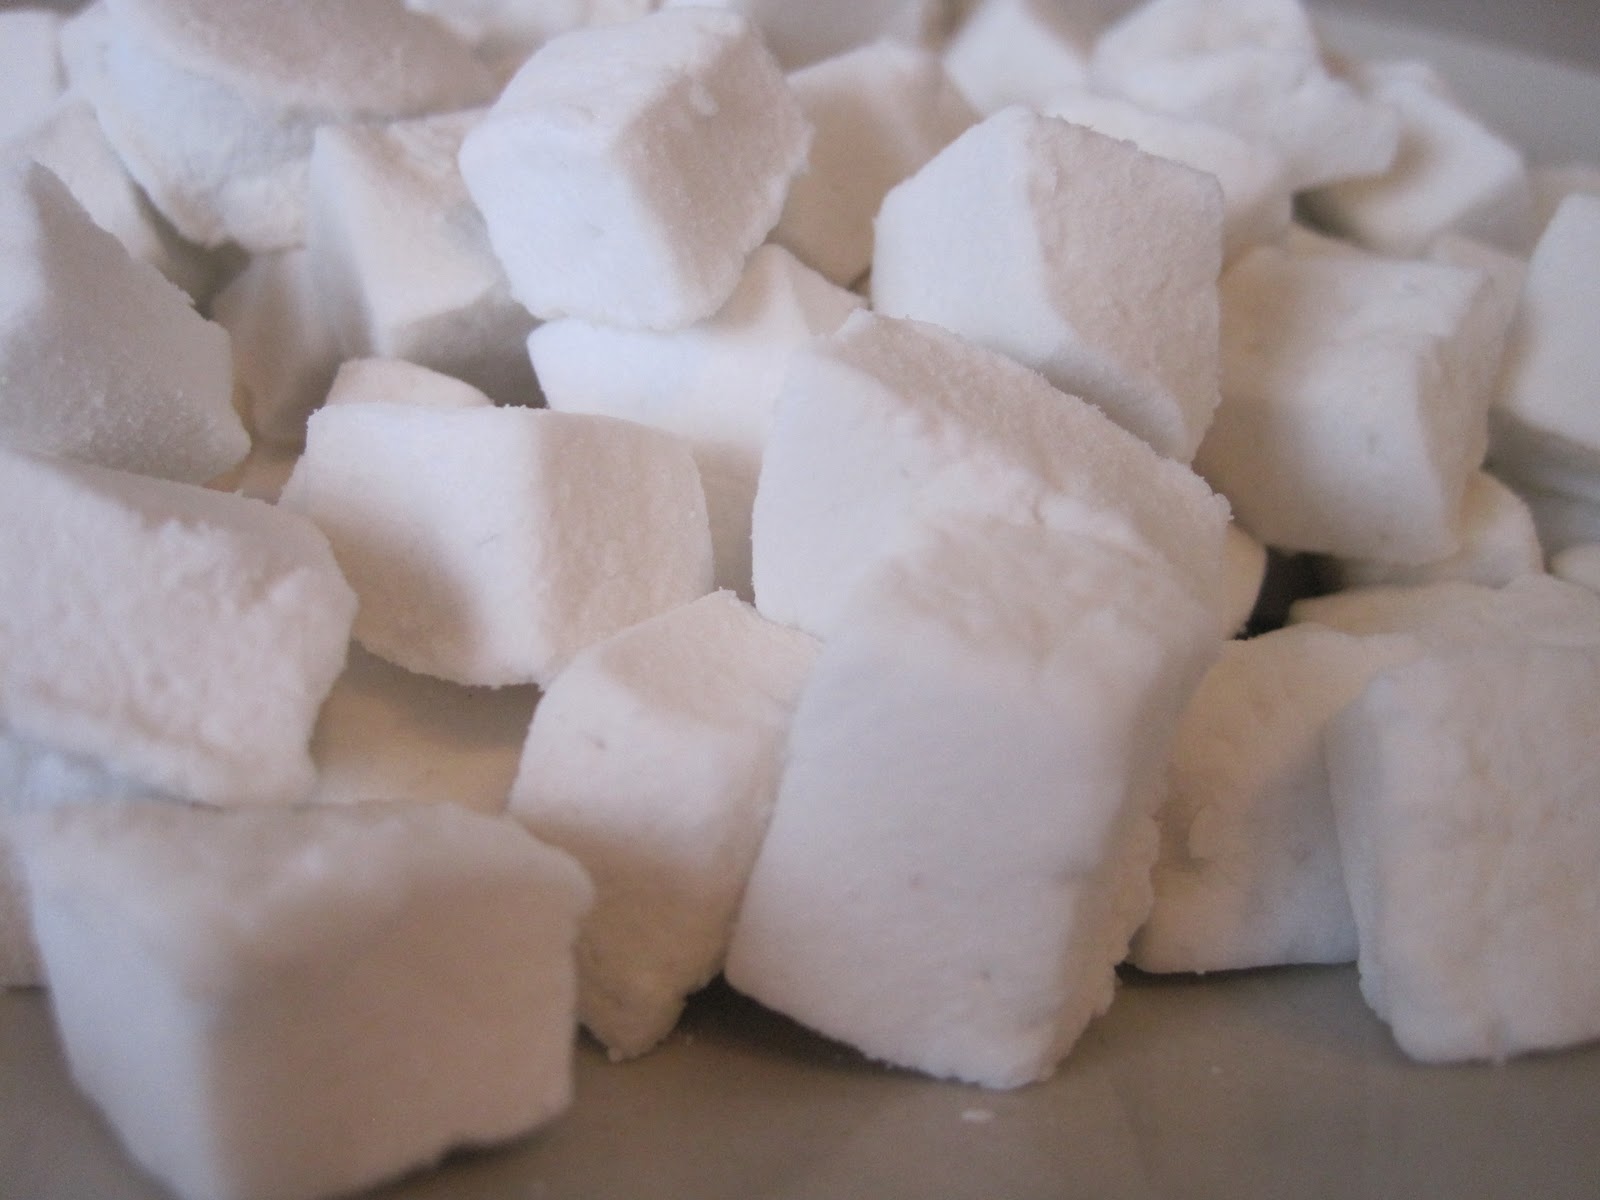
Homemade Marshmallows
This is one our favorite family traditions. We love to make our own marshmallows and the have hot chocolate together. I usually make these the night before or the morning of--you don't need to cover them while letting them cool. I can store the excess for a couple of weeks in a ziplock bag.

1/2 cup powdered sugar
4 tablespoons cornstarch
- 3 packages (3/4 ounces) unflavored gelatin
- 3/4 cup water
- 1/4 cup water
- 2 cups sugar
- 1 dash salt
- 2/3 cup light corn syrup
- 1 teaspoon vanilla
1/2 cup powdered sugar
4 tablespoons cornstarch
- In a bowl, sprinkle the gelatin over 3/4 cup water. Let it sit until all the water has been absorbed, about 10 minutes.
- Meanwhile, line a 9-by-13-inch cake pan (They turn out about an inch thick ) with nonstick foil or parchment. (not wax paper)--I like to dust my parchment with the dusting powder. For thinner marshmallows I use a jelly roll or cookie sheet. They turn out about 1/2" thick this way.

- In a saucepan over medium heat, stir the sugar, salt, and corn syrup into 1/4 cup water for a few minutes until the sugar dissolves.
- Increase heat to high, attach a candy thermometer to the pan, and boil until the mixture reaches 220° F.
- Quickly stir in the vanilla.

- Immediately pour the syrup mixture over the gelatin mixture, whisking constantly until the result is light and fluffy and has tripled in size. (15-20 min) --I just use my hand mixer.
- Scrape the mixture into the prepared pan and let cool at room temperature.
- Meanwhile, combine the powdered sugar and cornstarch to make dusting powder and sprinkle it onto a cutting board. When the marshmallow mixture is cool, turn it out of the pan onto the board.

- Dip cookie cutters into the dusting powder and cut out shapes--small cutters work best for hot chocolate marshmallows. They turn out about an inch thick. I also use my kitchen scissors to cut them up into small squares. Just dip all stick edges into the dusting powder to prevent sticking.
December 2, 2010
Soft Caramel Popcorn
Pop 6 quarts of popcorn. (3/4 cup of un-popped popcorn.)
Place in sauce pan:
1 cups butter/margarine
1/2 cup corn syrup
1 1/3 cup sugar
Bring to a boil and boil for 1 minute and 45 seconds. Remove from heat and add 1 tsp of vanilla. Poor over popcorn and serve. Great for first day or two. Keep in air tight container. Gets hard after a few days.
Place in sauce pan:
1 cups butter/margarine
1/2 cup corn syrup
1 1/3 cup sugar
Bring to a boil and boil for 1 minute and 45 seconds. Remove from heat and add 1 tsp of vanilla. Poor over popcorn and serve. Great for first day or two. Keep in air tight container. Gets hard after a few days.
Grandma's Caramels
Mix:
4 cups sugar
2 cups light Karo syrup
1/2 tsp salt
2 cups whipping cream
Bring to boil. Slowly add:
2 cups cream
10 oz can evaporated milk
Continue to boil until caramel reaches a soft --firm ball stage (at least 15 minutes and sometimes as long as 30 minutes.) You don't want it so soft it won't hold it's shape and you don't want it so hard it feels like it's going to pull your teeth out while you eat it. If you don't have a thermometer you can test this by pooring a spoonful of the caramel into a ice cold glass of water. Whatever the caramel sets up like in the water it will set up the same when it's cooled. (You'll want to use a heavy duty pan like a pressure cooker and or your grandma's old ones so the caramels won't burn. They will burn in normal pans.)
When you've reached the right stage remove the caramels from the heat and add your vanilla. You can also add up to 1 cup of nuts. Poor caramels into a lightly grease jelly roll pan. If you want really thick caramels you can use a 9x13 pan. Let sit until cool and then you can cut up the caramels and wrap them in wax paper to give away or just eat them--that's what I usually do!
4 cups sugar
2 cups light Karo syrup
1/2 tsp salt
2 cups whipping cream
Bring to boil. Slowly add:
2 cups cream
10 oz can evaporated milk
Continue to boil until caramel reaches a soft --firm ball stage (at least 15 minutes and sometimes as long as 30 minutes.) You don't want it so soft it won't hold it's shape and you don't want it so hard it feels like it's going to pull your teeth out while you eat it. If you don't have a thermometer you can test this by pooring a spoonful of the caramel into a ice cold glass of water. Whatever the caramel sets up like in the water it will set up the same when it's cooled. (You'll want to use a heavy duty pan like a pressure cooker and or your grandma's old ones so the caramels won't burn. They will burn in normal pans.)
When you've reached the right stage remove the caramels from the heat and add your vanilla. You can also add up to 1 cup of nuts. Poor caramels into a lightly grease jelly roll pan. If you want really thick caramels you can use a 9x13 pan. Let sit until cool and then you can cut up the caramels and wrap them in wax paper to give away or just eat them--that's what I usually do!
Delicious CARMEL APPLES from scratch

Use a 1/2 batch for a dozen.
Granny Smith apples are best.
Wash and dry apples and remove stem. Refrigerate apples.
Carmel:
Mix and boil
8 cups sugar
2 cups butter
4 cups light corn syrup
Slowly add without stopping boil:
4 cans evaporated milk
After removing from heat add:
2 teaspoons vanilla.
In a heavy sauce pan (pressure cooker or like) combine sugar, syrup, and butter over medium heat. Bring to a rolling boil Add milk a little at a time so mixture never stops boiling. Cook at a lower temperature, stirring ever few minutes--do not scrape the bottom when stirring. Cook to firm ball stage 240 degrees) You can test the carmel in a bowl of cold water by dropping a small amount of carmel into water and letting it cool. Carmel should make a fairly firm ball when removed from water. Remove from heat and add vanilla. (This portion does take a while. This is an all day activity, but VERY worth it.)
Pour carmel into a crock pot on medium-low setting--do not scrape the bottom of the carmel pan. When ready to dip, insert a pop cycle stick into top of each dry apple. (It does help to cut the stick into a point) Try to keep stick as straight as possible. Make sure there is no juice next to the stick Take one apple at a time and dip into carmel Make sure to cover the apple completely. Do not let it sit in the carmel too long or the apples will weep at the stem end.
 Let carmel drip off and use a knife to scrape excess carmel off the bottom of the apple. Set apples on a sheet pan the you have sprayed with Pam. When tray is full, put it in the refrigerator so carmel will cool. Dip all apples and let cool. As the carmel cools some bubbles might appear. This is okay.
After apples have cooled, you can start dipping in chocolate. Use a high quality white dipping chocolate--it can't be molding chocolate (for locals--Kitchen Kneads (7600 S Redwood---- carries "Kreamy Chocolate" or "White Glacier" which works great.) I use about 5 lbs of chocolate per batch of carmel. Chop the white chocolate into small pieces so they can melt easily. You can then melt in a double boiler or in the microwave--1 minute at a time. Stirring every minute and adding more chocolate until smooth and creamy. Take apple and dip it into chocolate about 2/3-3/4 of the way on the apple so that the carmel still shows at the top. Let the chocolate drip and then scrape excess off the bottom. Set the apple in a cinnamon sugar mixture and sprinkle chocolate sides with mixture or candy. Set apple back on the tray. When tray is full return tray to the refrigerator.

Once chocolate is set, you can wrap the apple in a cellophane bag and tie the top. They make great gifts or great treats to just eat!
July 20, 2010
Toffee
½ cup sugar
½ cup salted butter
Heat an empty sauce pan on high, add butter and sugar, whisk until melted. Keep mixture on high the entire process and whisk until it starts to bubble a bit. Whisk for 3 seconds…pause for 3 seconds, the mixture will expand. Whisk again for 3 seconds or so until the mixture deflates. Repeat this until the mixture separates (it looks like brains) and then turns brown. The best way to describe the color is “paper bag brown”. The mixture should be somewhat creamy. Quickly pour onto cookie sheet. Add Hershey’s chocolate bars (broken into pieces) on top of the sugar mixture. The thin bars work best. The chocolate will start to melt. Spread with a butter knife. Add chopped pecans.
½ cup salted butter
Heat an empty sauce pan on high, add butter and sugar, whisk until melted. Keep mixture on high the entire process and whisk until it starts to bubble a bit. Whisk for 3 seconds…pause for 3 seconds, the mixture will expand. Whisk again for 3 seconds or so until the mixture deflates. Repeat this until the mixture separates (it looks like brains) and then turns brown. The best way to describe the color is “paper bag brown”. The mixture should be somewhat creamy. Quickly pour onto cookie sheet. Add Hershey’s chocolate bars (broken into pieces) on top of the sugar mixture. The thin bars work best. The chocolate will start to melt. Spread with a butter knife. Add chopped pecans.
Subscribe to:
Posts (Atom)
